In today’s lesson, we began on starting abstract paintings. (Which is meant to look like shapes and colours, nothing specifically.) We started by picking random shapes from our sketchbooks and drawing them with tracing paper. Then we continued to draw these shapes until it created an image. Then we draw what we created but on the other side of the paper and then scribble on the same side afterwards on a piece of paper. This would then put the image from the tracing paper onto the paper in my sketchbook.
Once I did that, I began filling in the little shapes with paint using only the colours black, white and purple. Once filled the image would look like an abstract piece. I had a choice between purple and red but I went with purple because I think it is a more satisfying colour, and it’s up there on my list of favourite colours. With the shapes I had created it kind of made the piece look like an army mesh but purple, which is something i like about it.
In today’s lesson, we learned about a new technique called, double exposure. Where two images blend together to make one. And we had to replicate that technique but with a person.
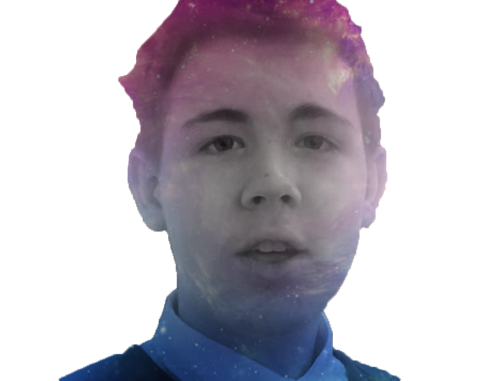
I started by choosing the photo I was going to use. I decided to use a mugshot my friend got of another friend a few years ago because I thought it looked funny and could produce some satisfactory results. I had to crop out the background first though so this method would actually work
Afterwards, it was time to get started. First, i had to get the two images blended together, so I turned this person into a silhouette by colouring him solid black, then I selected the whole shape, inversing the selection, then duplicating the layer while filling the original first layer white. After that, i got the background image (which was a galaxy background) and layered it on top of the person layer. I then selected the person and added a layer mask so the galaxy background would be in the shape of the person. I then duplicated the original layer of the person, layered it at the top and desaturated it so it’s colourless. And lastly, I change the blending mode to multiply.
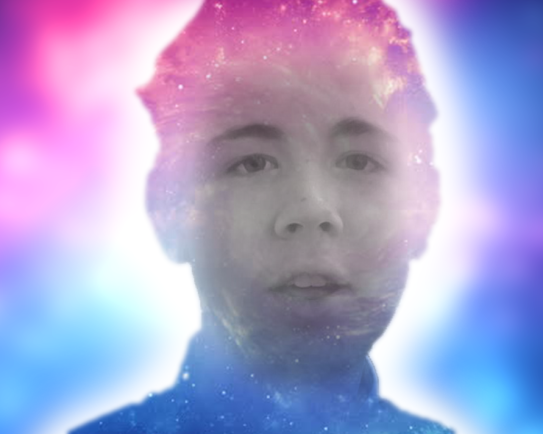
Doing all that gave me this result, but I wasn’t done yet. Next, i created a layer mask on the top layer and, with a soft brush, painted around the face so only the facial features stay visible. Next, I reduced the opacity by around 60 percent. Then I added the same galaxy background on the top layer and blurred it by around 2.5. Then I erased the middle so I could see the person and have the background layer produce a vignette around the person, which is the white glow around him.
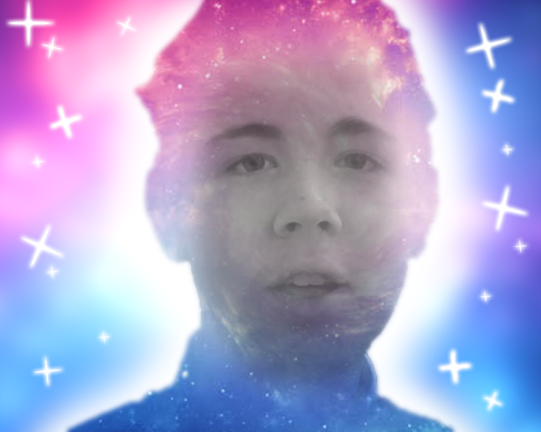
Once that was done, I had officially done the task. But I wanted it to stand out a little. So I added some stars to make the image pop more. These stars were done by using only 2 lines. 🙂
If you want to make something similar but cant understand this, heres the reference video i used.
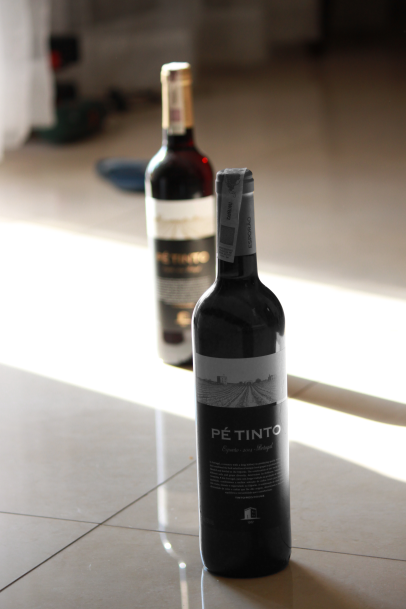
In today’s lesson, our job was to make one of the wine bottles from the picture below colourless. Desaturated. So it looks like it was part of the original image but there is a difference to it too.
So by doing this, all I had to do was select the entire bottle, (i used the one on the right) and go to image/adjustments/hue and saturation and turn the saturation slider all the way down so the image had been greyscaled.
I could have done something creative with this bottle but I decided to finish other unfinished work first.
In today’s lesson, we had to finalize and upload our sounds that we had recorded. What I did to “finalize” my sounds was to cut them and get rid of any unnecessary sounds. I recorded most of my sounds at home and put them on my google drive so I could use them at college too. Some of the sounds have been downloaded from the internet because to get those kinds of sounds (like tires screeching, car crash, etc) would be very difficult. Some of the sounds had also been voices done by me for the characters of the game. Once I had all of the sounds, I converted them into one file and sent it onto the college website.
In today’s lesson, we needed to continue production on getting those sounds that we had recorded for the next week. Besides doing that, we also had to mess around with them to make them sound better, changing things like the Equalisation of the sound.
Whilst doing this, I, of course, couldn’t record every single sound myself due to limitations, so I found this site called soundbible. This site has a whole collection of sounds free for everyone to use. Obviously, I wasn’t going to use this for every sound I needed. I only needed the ones that would be really difficult to record. And there was only around 2 or 3 of them. One of them would be the car drifting and there’s also a crashing sound.